Pointed Pen Calligraphy: How to Start Pt. 2
Welcome to part 2 of Getting Started with Pointed Pen! Check out part 1 when you get a chance...
Choosing an Ink
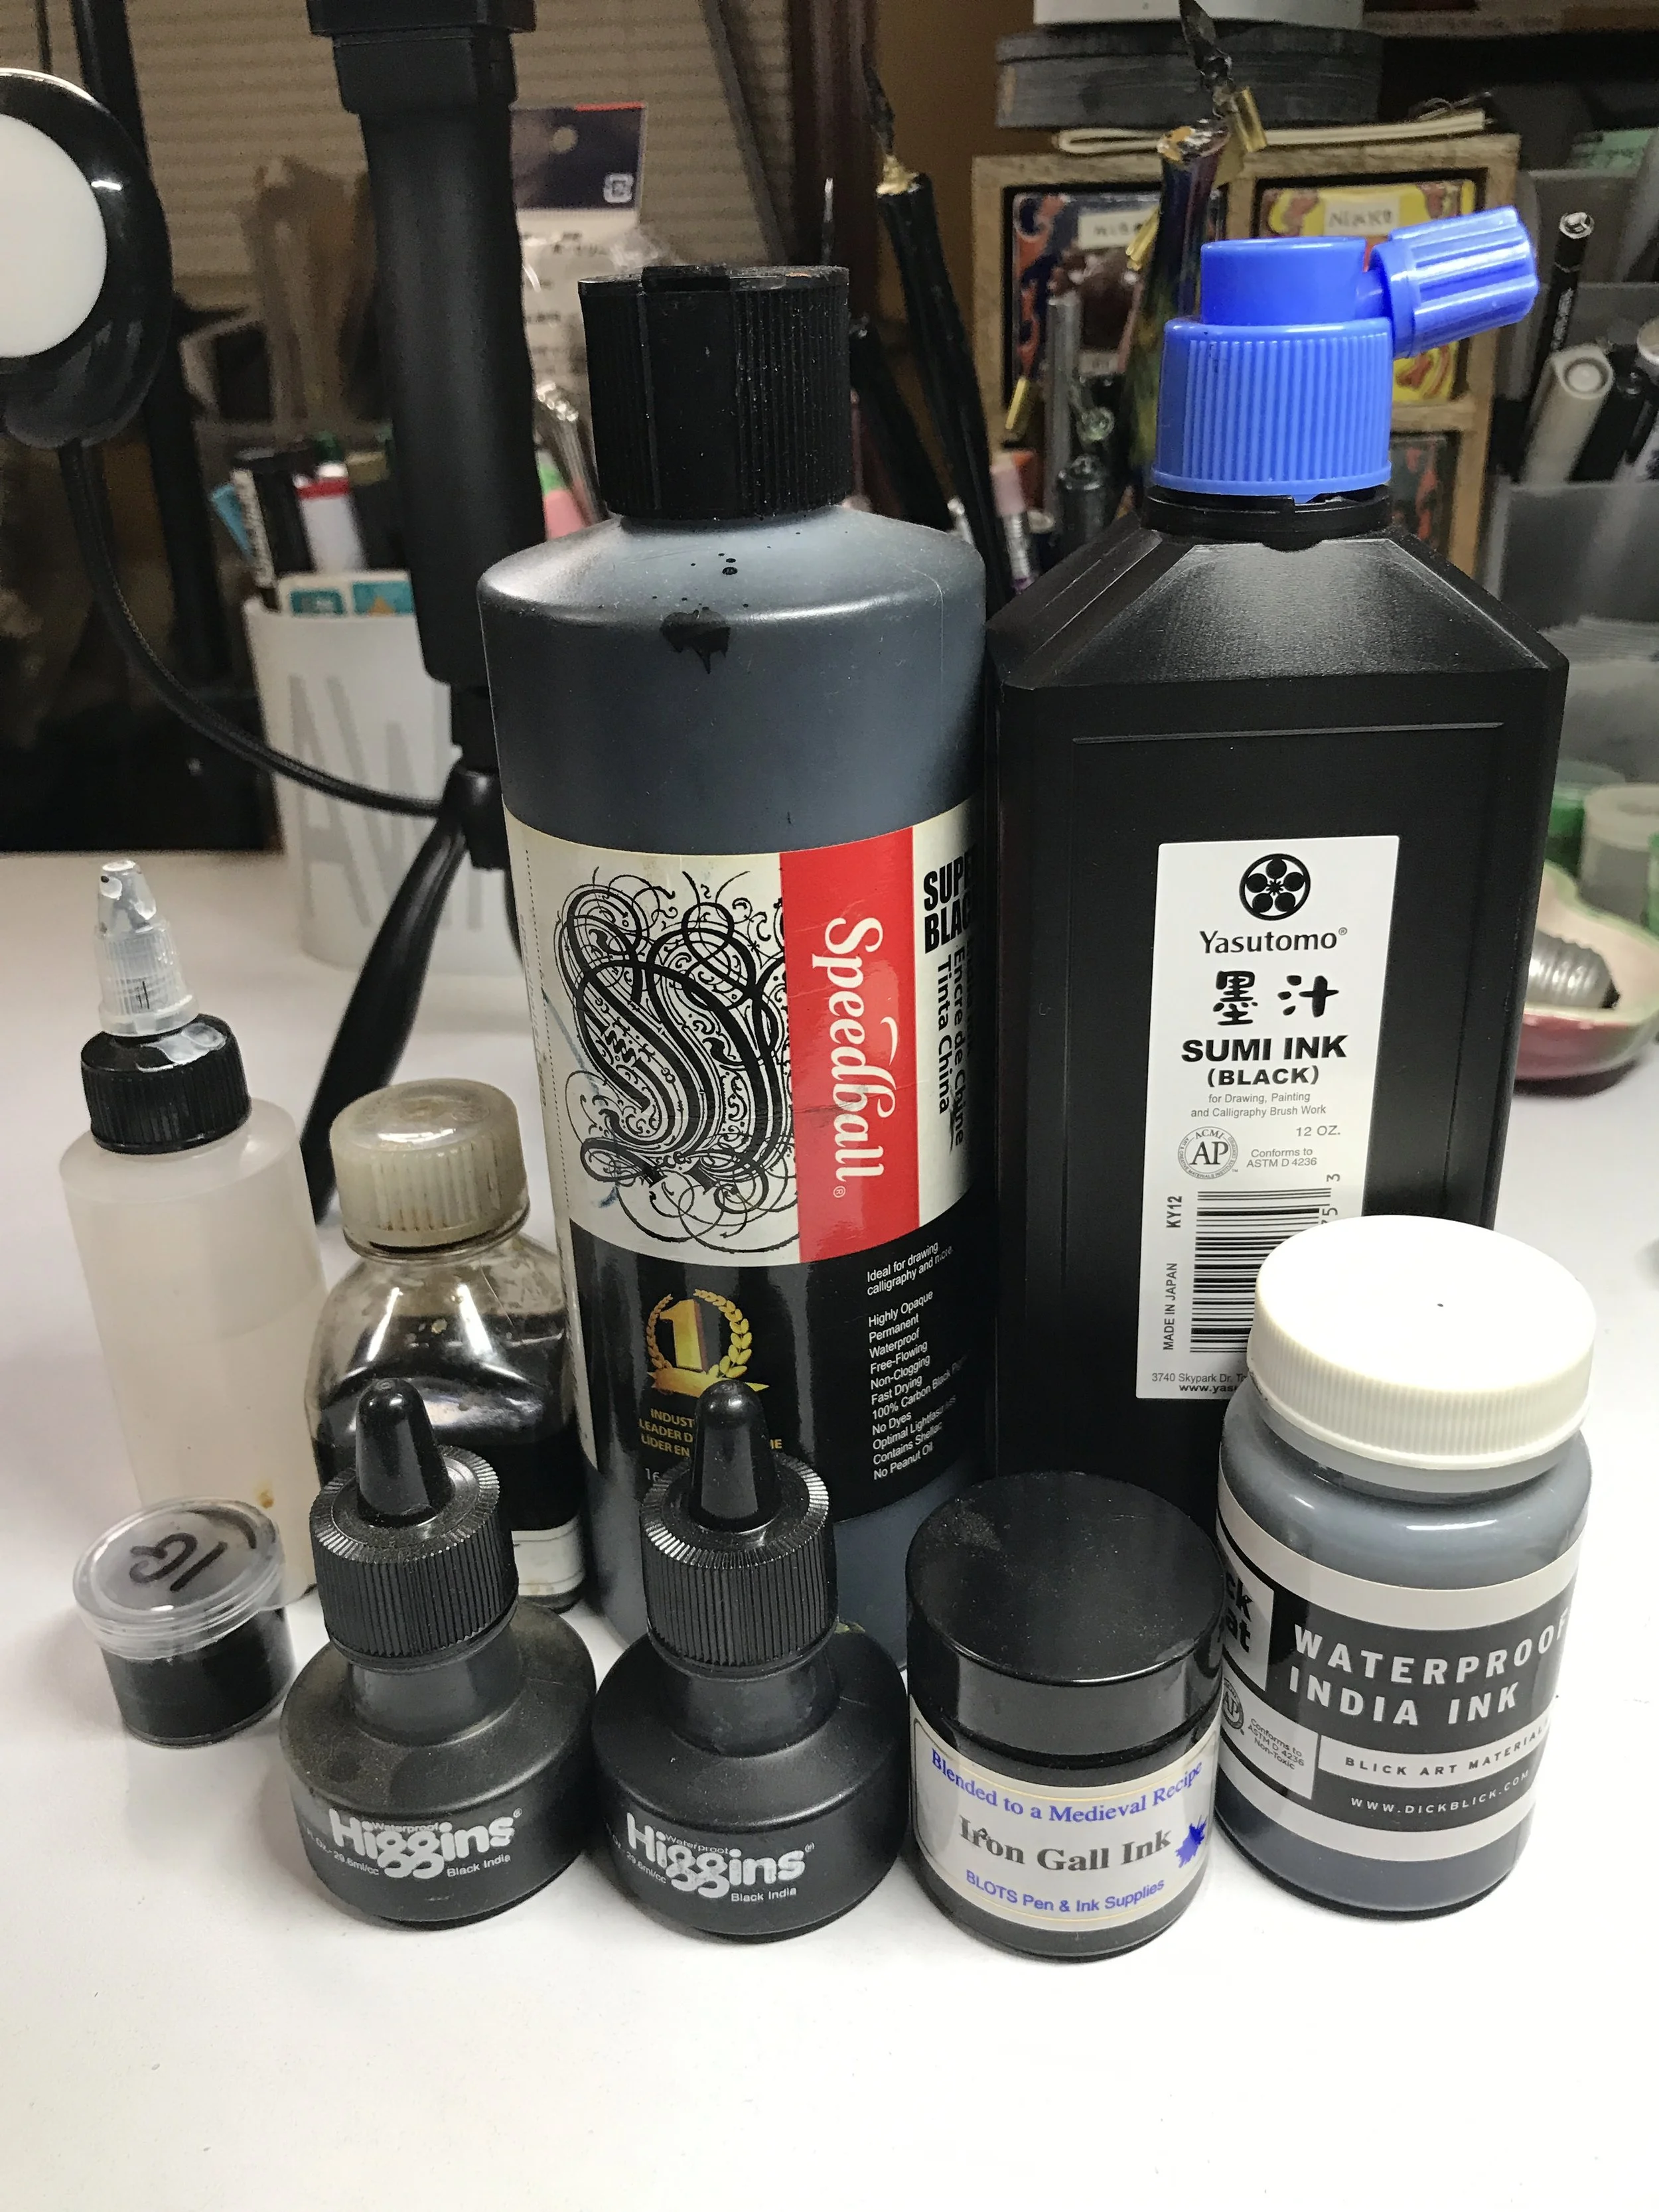
You’ve got to keep a variety of inks on your shelf because different surfaces that you are provided will require experimentation / trial and error methods of decision.
Listen, ink will be one of the most important selections that you can make prior to starting a project. I always recommend you keep a ton of different inks around because your surface, nib and ink combination can be tricky to settle down on. You want to have options to choose from.
It can literally take up to an hour to get this combination correct so please don’t get frustrated. This advance, setup work is more than necessary to ensure that you are able to comfortably execute your project.
You don’t want your nib to catch on your upstrokes
you don’t want your ink to bleed and feather your paper/surface
and finally you want to ensure you are not constantly having to re-dip your nib in your ink selection, which can waste valuable time.
Notice the subtle differences between the inks. It will be important for you to determine what the best selection will be for your project. They all flow out of the nib in different ways.
Creating strokes
Time to start making strokes! I did a prior blog on drills that you can start doing with pencil. Check it out when you can. I also provided a free worksheet. After you get used to making those marks, making the same kinds of strokes with a pointed pen will feel a little more natural. Actually, if you can go from executing these drills with:
pencil
-to-
fine line brush pen
-to-
finally, the steel pointed pen, that's the BEST preparation I can recommend!
You can find fine line brush pens at JetPens.com. This is one of my favorite places and if you are any kind of pen aficionado you will LOVE what they have to offer. They not only offer a HUGE variety of pens, they also have invaluable guides that help you shop for just the right tools. Can't say enough good things about Jet Pens. Anywho, similar to the pointed pen nibs, a brush pen SAMPLER kit is available and I highly recommend it. They actually have about 4 or 5 different sets available!
Pencil first, then fine line brush pen and THEN the pointed pen nib! This will help retain these basic, necessary strokes in your muscle memory. Light, feathery pressure on your upstrokes, firm, heavy pressure on your downstrokes.
Hope this was helpful, please let me know if you have additional questions in the comments!
--ct


